
We were really looking forward to Fran & Sue’s visit as their previous workshops with us had been such fun to do. Their wish list included glass fusing, more riveting, a taster session in enameling and lot and lots more !
Here are some of the wonderful things they made
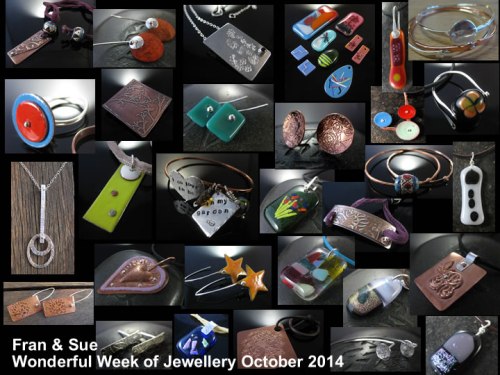
Clicking on the photo above should take you into the album on our FaceBook page which shows each piece in all its glory !
I thought I would show you just a few of the pieces and how they were made.

Sue etched a piece of copper, circles were cut out and Sue domed them then soldered on stud backs to make these…..
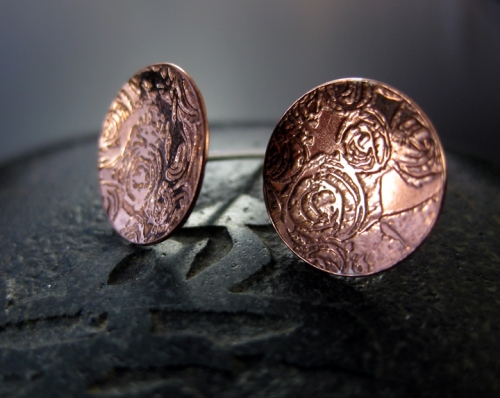
…gorgeous earrings

Fran textured one of these pieces of copper and used press forming to make a heart which she riveted with felt to make this ….

…wonderful pendant
Salt Water Etching
Here are a couple of their etching designs and what they became (the designs were stamped then scanned and printed onto PNP paper then ironed onto copper sheet then etched using the salt water etching method


Sue made her etched design into a really nice key ring.
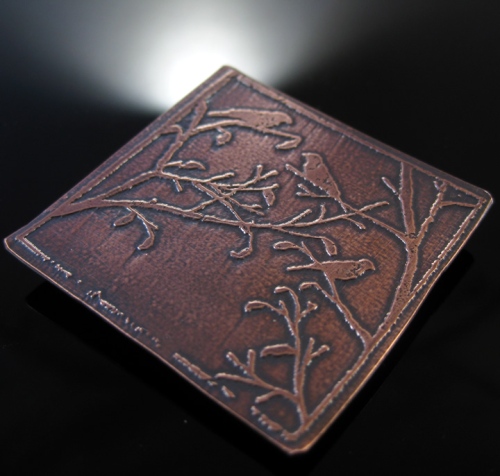
Fran made hers into a lovely brooch, the liver of sulphur really brings out the detail of the etching.

Brooch back with handmade pin.
Do visit our FB page to see more of their lovely work and our website for more information about our jewellery making holidays.


